Clash Sectioning
Section the Navisworks view around each clash, set side and slab buffers, and adjust the section box with on-screen handles.
Navisworks Manage 2025–2027 · Updated
Turn on Section Clash
Clash sectioning cuts the 3D view down to a box around the clash you select in Pulse Check, so the surrounding model doesn't get in the way.
Open Pulse Check
See Pulse Check Clash Review if you haven't used it before.
Switch on Section Clash
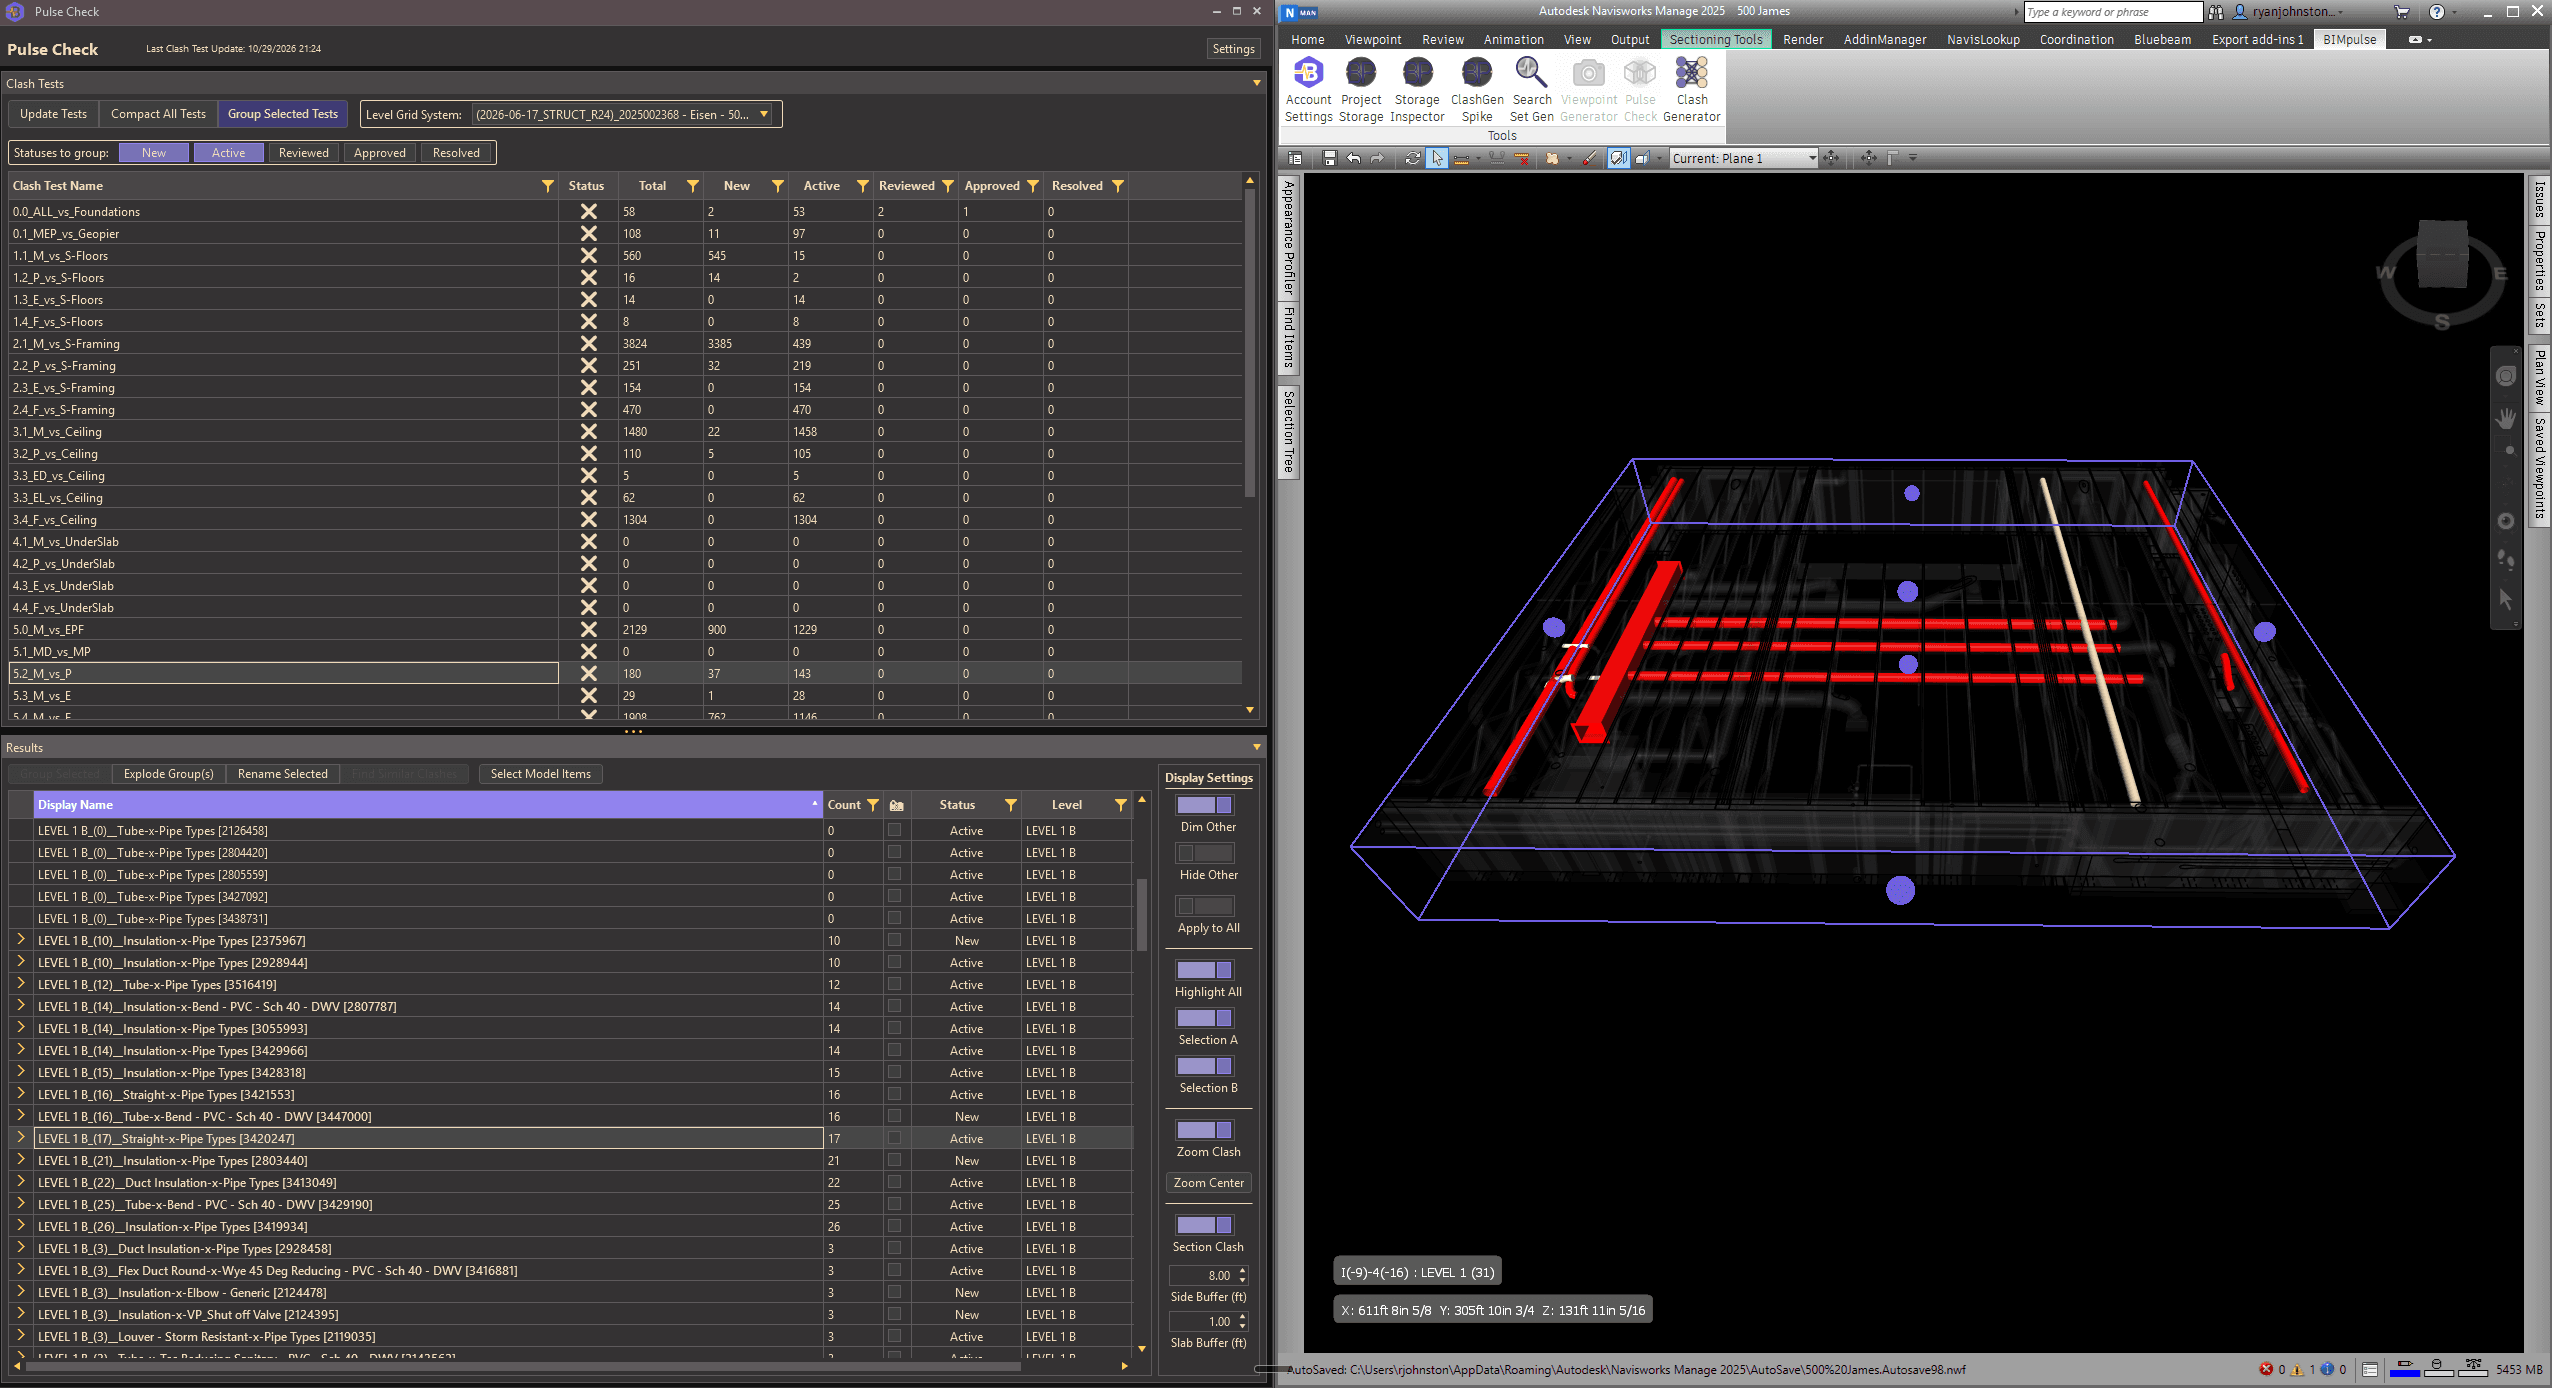
The switch is in the Display Settings panel on the right edge of the Results pane. If a clash is already selected, it's sectioned straight away.
Click through your results
Each clash or group you select gets its own section. For a group, the box covers every clash in it.
Pulse Check remembers whether Section Clash is on the next time you open it.
Where the section goes
The section is a box with six sides, lined up with the model's axes:
- Sides: the clash's extent plus the side buffer in every direction.
- Bottom: the slab buffer below the level at or under the clash.
- Top: the slab buffer below the next level up.
The section never cuts into the clash itself. Where there's no level above or below, that face sits the side buffer away from the clash. Levels come from the Level Grid System chosen in the Clash Tests pane; with no levels at all, the top and bottom also use the side buffer.
Side and slab buffers
| Setting | What it controls | Range and default | Saved |
|---|---|---|---|
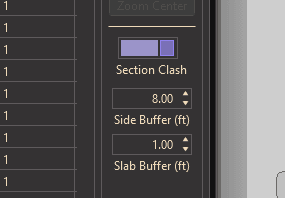
| Side Buffer (ft) | How much of the surrounding model shows around the clash in plan. Changes apply right away. | 0 to 200 ft, default 6 ft | For your Windows user |
| Slab Buffer (ft) | How far below each level elevation the top and bottom cuts sit. Changes apply on your next selection. | 0 to 20 ft, default 1 ft | In the Navisworks file |
A level elevation usually sits at finished floor, so the structure hangs below it. The slab buffer stands in for that slab depth: about 1 ft for a typical slab, nearer 2.5 ft for a precast double-tee deck.
Both buffers are always entered in feet. BIMPulse converts them for metric models. Save the Navisworks file to keep the slab buffer.
Adjust the section with handles
While a section is active, a purple box outlines it, with a round handle in the middle of each face. Handles show through the model, so you can always reach them.
- Hover over a handle to highlight it, then drag it with the left mouse button to move that face.
- The right and middle mouse buttons still work as usual in Navisworks, so you can orbit and pan between drags.
- If a face won't move, you're looking at it edge-on. Rotate the view a little and try again.
- The box can't be dragged inside out.
Your adjustments last until you select another clash, change the side buffer, or turn Section Clash off and on again.
Clearing the section
BIMPulse remembers how your view was clipped before it started sectioning, and puts that back:
- Deselect the clash: your own clipping returns, and Section Clash stays on for the next selection.
- Turn Section Clash off or close Pulse Check: the section is removed and your own clipping returns.
- Save the file: your own clipping is put back before saving, so the section isn't saved into the file. Section Clash stays on, and your next selection is sectioned again.
Sections and saved viewpoints
- With Zoom Clash on, selecting a clash that has a saved viewpoint opens that viewpoint first, then applies the section on top.
- Save Viewpoint in the Results pane saves the current view, clipping included. If a section is active when you save, it's stored in that clash's viewpoint.
Limits
- A group whose clashes span several levels gets a box tall enough to cover all of them.
- One slab buffer applies to the whole file, so it can't match every slab type in a building.
- Two levels set close together give a very short section.
Short on context?
Increase the side buffer to see more around the clash, or drag a handle to open up one face.
Related guides
Pulse Check Clash Review
Review clash results in Pulse Check: update and compact tests, change status, save viewpoints, and control dimming, highlighting, and zoom.
Clash Grouping & Renaming
Group Navisworks clashes by level, grid, proximity, and more, auto-group after test updates, and rename clashes with a naming template.
Custom Hotkeys
Change Pulse Check keyboard shortcuts, see the defaults, fix conflicts, and learn where custom hotkeys work in Navisworks.
Viewpoint Generator
Detect floor slabs and save a sectioned, framed Navisworks viewpoint for every level, slab to slab, with a preview of each cut first.
Still stuck, or spotted something out of date? Contact support and tell us which guide you were using.